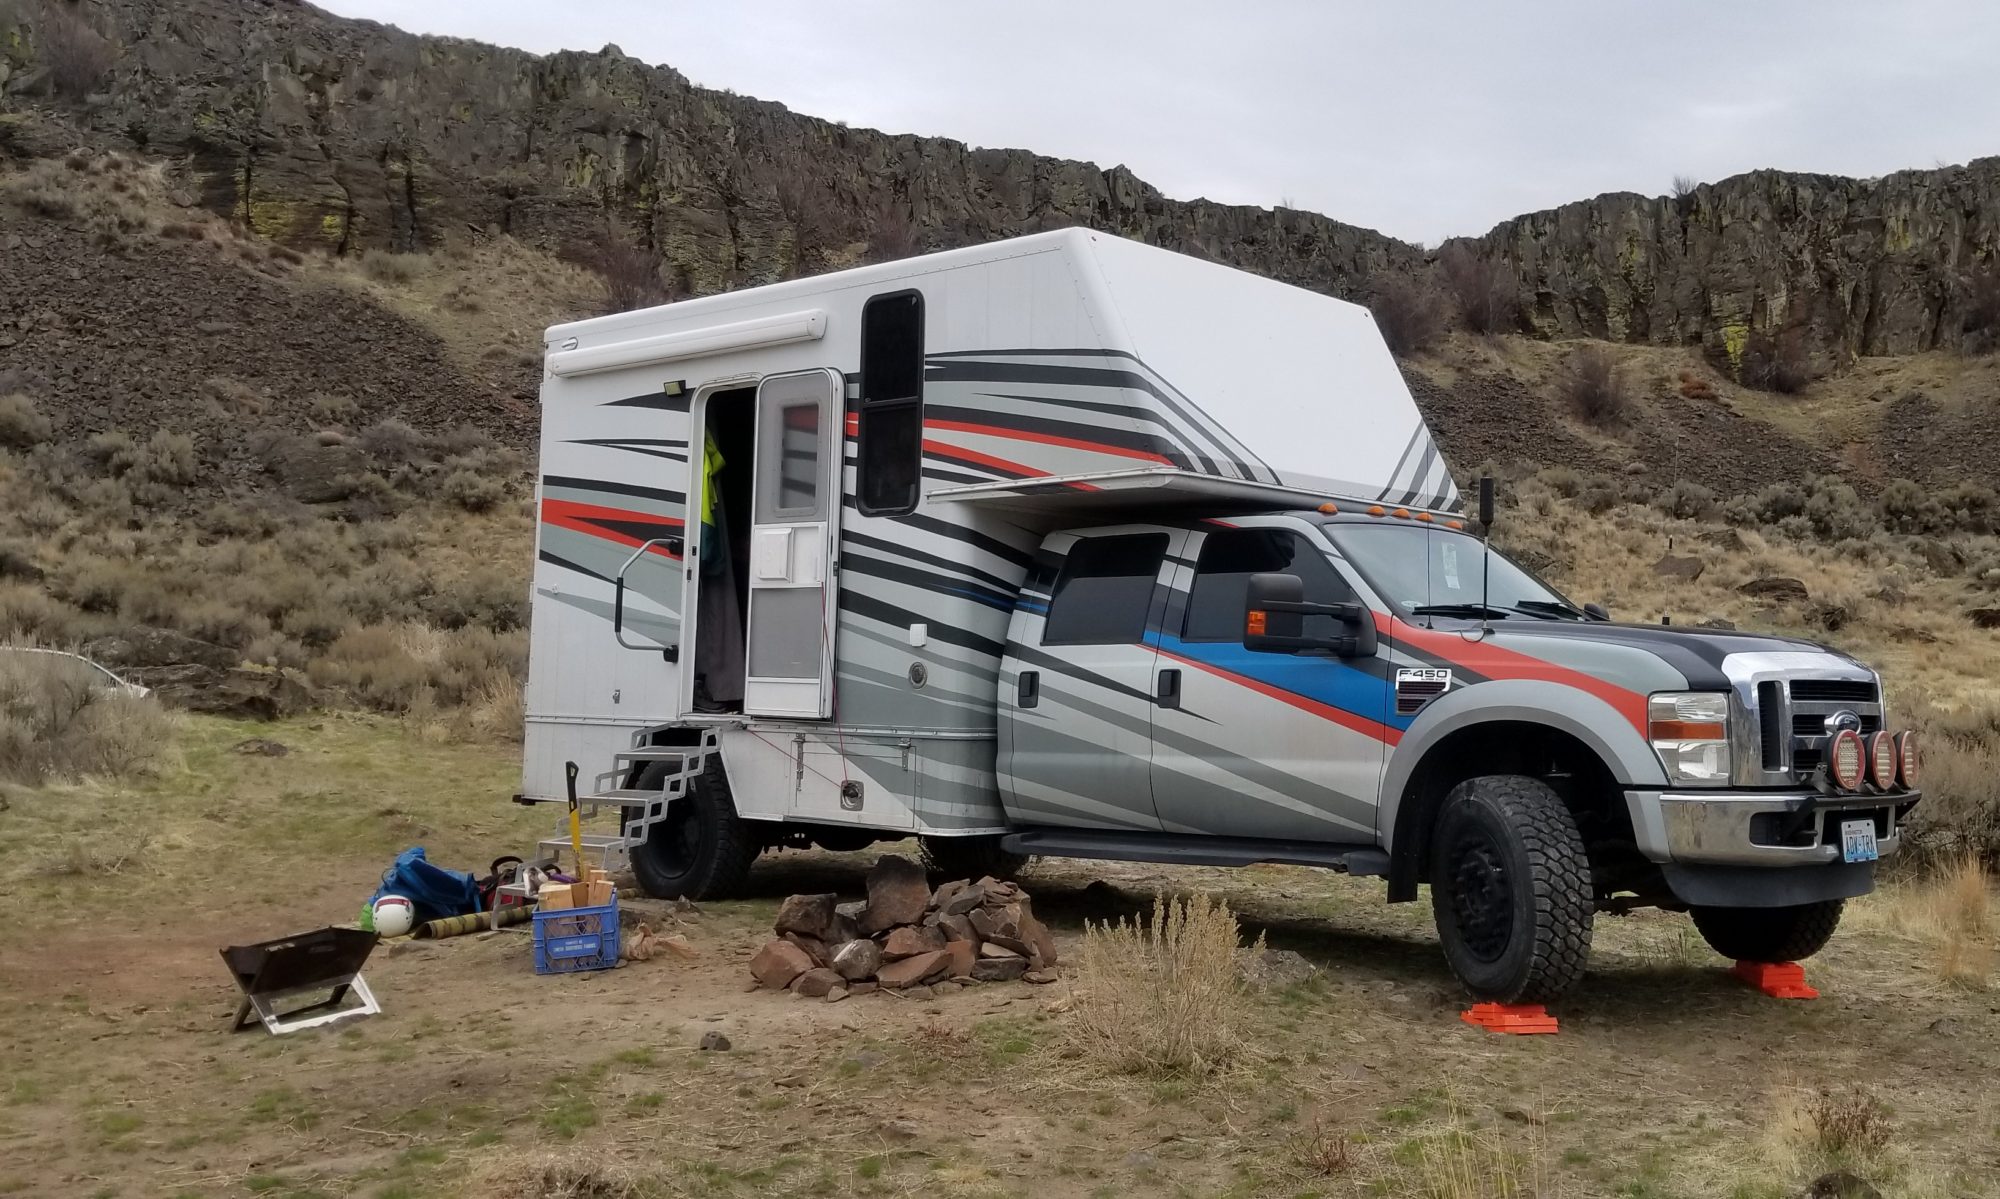
So off we went, we spent the weekend at the Northwest Overland Rally, great fun, lots of friends we don’t see too often and a nice weekend away. Even if camping in a grass field with 1500 other people isn’t our norm.


It rained a bit thursday night and Friday morning, but no real leaks.
After we got home I climbed on the roof to look up there. Sure enough the factory sealant had cracked right along the joint from the corner extrusion to the roof sheet metal. Damn. It was actually leaking down inside the body channels and just coming out where it hit the window!

You can just see the dark colored straight lines in the picture above, those are the cracks. They are all the way around…. Luckily there is some butyl in between the corner and roof that has seemed to keep it sealed in most places.

It was cracked very badly across the front, luckily there is a large strip of butyl here, so no leaks I could find. But it was not adhered at all, this whole section peeled up.

I ended up taking a grinder and going all the way around, grinding the middle of the existing sealant to expose fresh stuff to bond to, and to get the cracks out.

I will be adding a second layer of polyurethane caulking, Sikaflex 1a specifically, over the existing stuff. It doesn’t bond well to bare aluminum, so a coat of Sika 260 primer was brushed over it. Before that, a scrub brush, acetone and lots of rags were used to get everything as clean as possible.
Not many pics, its sticky messy work, but 8 tubes were used to cover the seams. It was troweled and finger smooshed around. Hopefully sealing and thick and flexible enough to last a few more years.


This will take a few days to cure, but I think it should work well. Hopefully it bonds to the existing stuff and gives me a long life flexible seal.
