Air Bag Front Coil Replacement

In a quest for better ride, I have decided to ditch the front coils and go with a Kelderman air bag front end. This kit replaces the coil springs with an air bag, this gives infinite adjustment for load/weight and a supposed better ride.

Kelderman Kit

The first hurdle is how to get the entire front end of the truck off the ground on a gravel driveway….. I have 6200lbs on my front axle, not a crazy amount, but enough to drive the wheels of my jack through a piece of 3/4″ plywood…. Trying again with no wood works, but now the jackstand has sunk. Eventually with some grading of my gravel driveway, two jacks and some jackstands and the front end is ready for work.

Wheels off.

Next up, lower one of the jacks so the spring bits can be removed. Springs and the lower coil buckets are taken off. I hit a surface little rust with some zinc rust paint.

Out with the old.
Discarded parts

The upper bracket needs three holes drilled to hold it in place. The steel is thick and hard. Not a fun upside down drilling project, but take your time and its ok. If your doing this be very careful, there is a large wiring harness right above the upper area your drilling on both sides. Don’t hit it when you break through!

Brackets in place

The brackets simply bolt in place of the coil, and the airbag is bolted between them. One long bolt holds the air bag to the lower mount seen looking awkward above.

All together

All together with the air lines ran. I simply ran them up next to the battery on either side. Its just manual fill for now. I ended up around 80psi. You simply inflate the bags until they are 7.5-8.5″ tall. I went with 8″ which ends up about 1.5″ tall overall than stock.


At 80psi/8″ tall with the weight of the truck on it.


Front end of the truck is defiantly a little taller, the jury is still out on ride quality…. I need to play with pressures a bit. Overall no worse than before and 1.5″ taller.
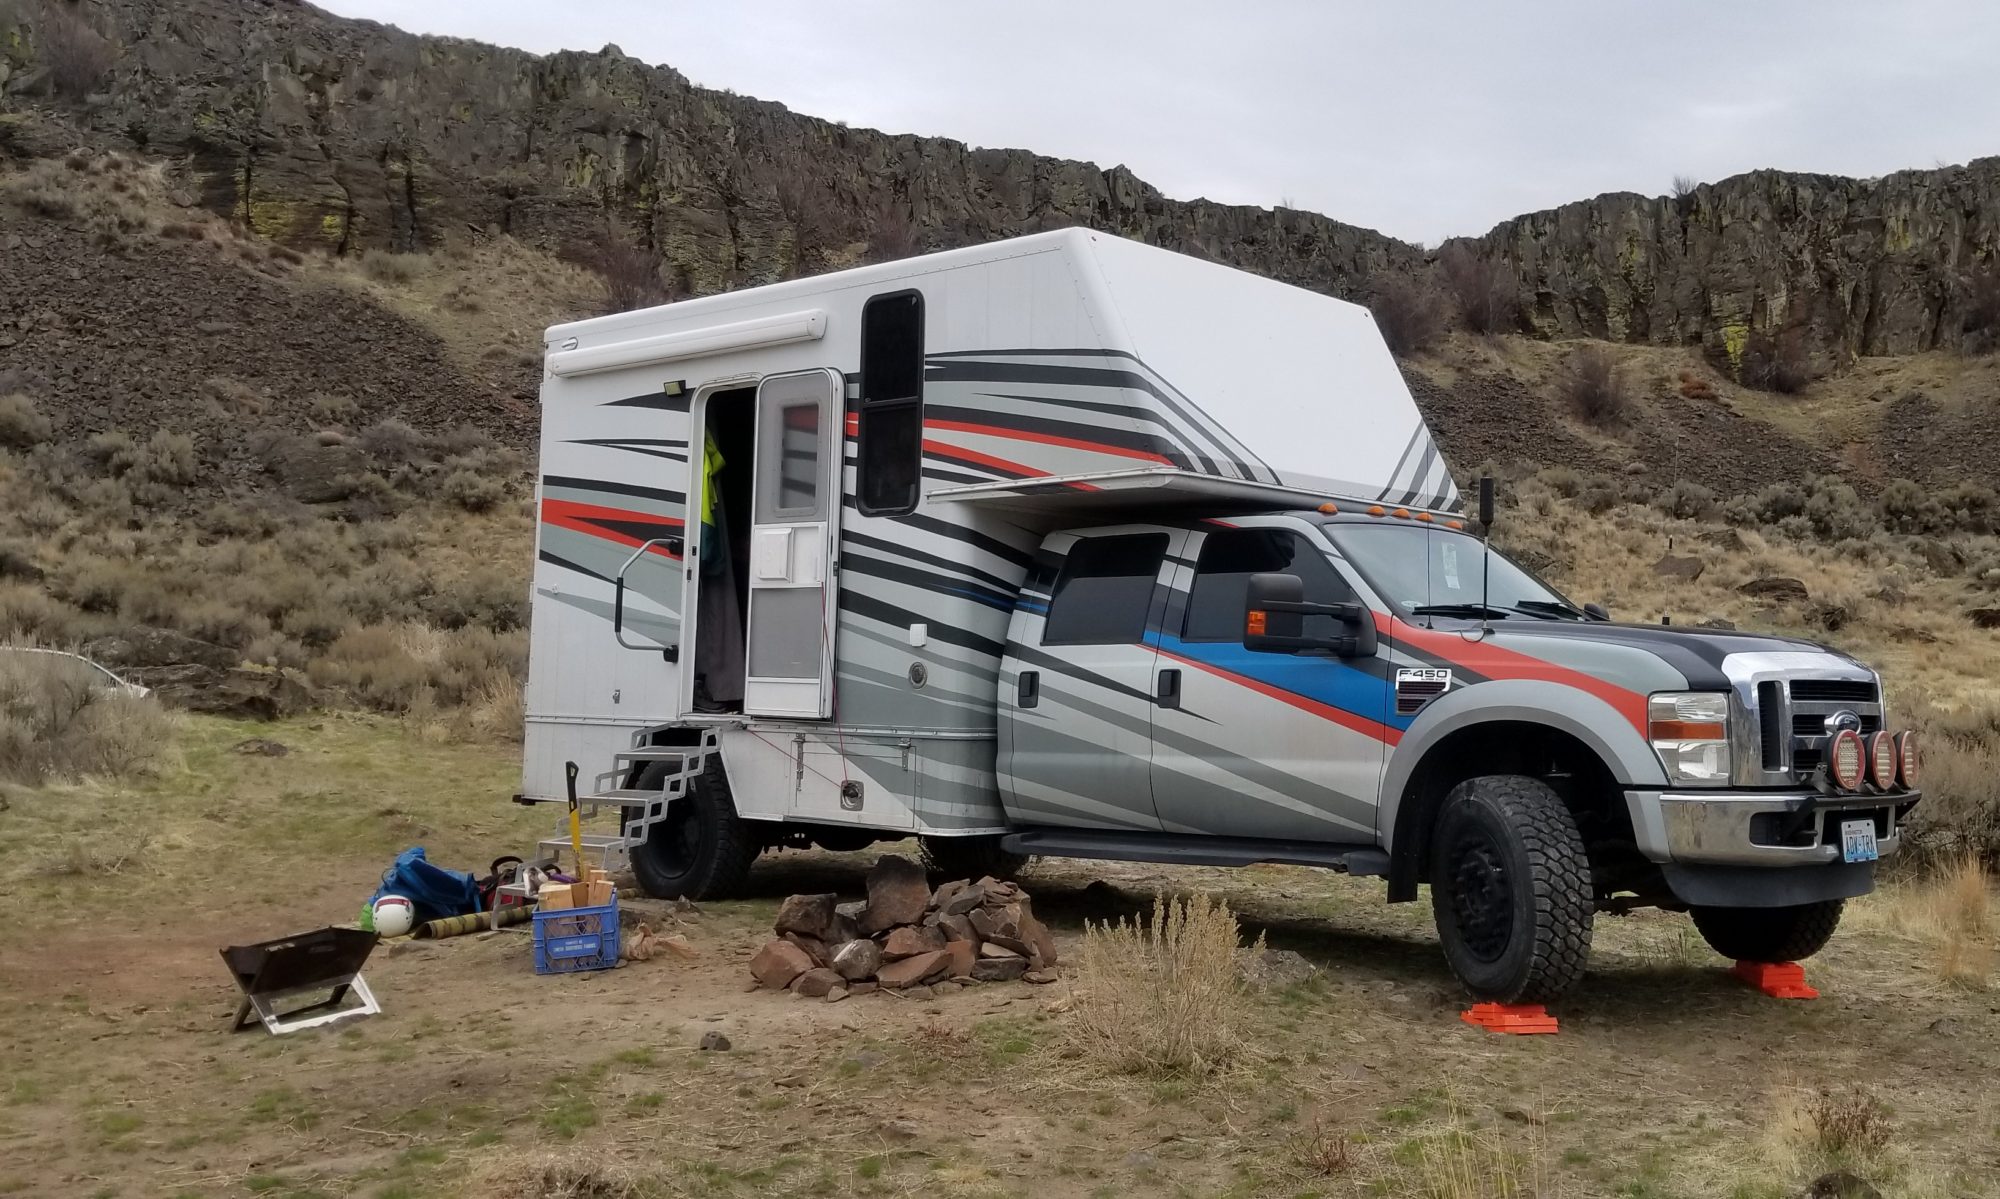
Climbing Trip!

Since winter is long gone now, climbing has taken over the summer activities. So its off to the desert we go in search of rocks!

Great free camping

First visit was Frenchman Coulee in Vantage WA. It gets hot, get up early! But there are a TON of routes, lots of bolted, some really tall too.

Climbing the pillars in Vantage
On the newly opened Hwy 20

Truck is super luxury climber camping…. Its really nice. We looped around across hwy 20 on the way home as it had just been opened. Great scenery.

Slab climbing in Pshastin

Truck is chugging along great, its had its oil changed, fuel filters changed and gets 10mpg. All the time.

More little projects – LED storage lights and a 12V compressor.

More little things have been getting done. Just little projects as I can fit them in. We have been using the truck a lot!

First I added LED strips under the bed. It was always dark trying to find things down there. Its bright now!

LED strips under the bed.

Made a new switch mount for the inverter and lights. Which somehow I have backwards…. Just remember on=off….

Inverter and light switches

Then I installed a 12v compressor. This is for being able to air up the bags, the tires as needed and blow up floaty toys etc. Its a 100% duty cycle Puma, with a small one gallon tank.

Strapped in place by the back door.

I wires it with marine tinned wire, and a resetable circuit breaker.

Breaker. Zip ties were trimmed!