Water Leaks, and Wiring, its a Build!

Now that the roof is sealed up, I seem to have other places of water ingress….. The marker lights and something in the corners by the cab.

Marker lights, easy fix
Hmmmm No idea on this one

Marker lights are easy, but I don’t really know where the other water is coming in.  A coat of sealant on the lights and we move on. Corners will have to be dealt with later.

On to forward progress, wiring design! This was kind of critical, once the insulation is in there is no changing it. I spent quite a bit of time thinking on electrical. I settled on batteries under the bed, I wanted to try to keep them a little warm as that was an issue in our old truck. We are using four 250Ah 6V AGM batteries, this should provide us with 250 usable amp hours at 12v.

So the forward edge under the bed became the main electrical hub. I needed to run both wiring for 12v, and 120V. We will have a few things that need 120V, coffee maker, microwave, and a plug if laptops etc need to be charged. This will be feed by an inverter or generator/plug in.

I decided on 12/3 wire for the 120v, enough for 20 amp circuits, and 12/2 wire for the 12V, this should keep voltage drop to a minimum. I did run a couple of larger circuits as well, one for the fridge and one for the heater and water pump. The 12v is tinned marine wire, the 120v is stranded copper, it was cheaper just to buy an extension cord than I could buy the wire by the foot.

The first of many deliveries…..

Wiring begun, it was all strung overhead to keep it out of the elements. I am trying to keep as much as possible above the floor.

Main battery area under the bed

The wiring went fairly quick but it took miles of wire. I used an entire 300′ roll of the 12V wiring, and had to run a different wire for all the lights. The other main connection area will be in the kitchen cabinets, the switches will be located here, just inside the door.

Overhead mess!
Passenger side has the main switch area.

That is the bulk of the wiring, a few more circuits here and there, but that’s most of it. Next is furring out the walls and cutting the pass through!
Whistler, Zip Lines and getting Dumped on!

Well the truck cant take all our time, so we headed up to Whislter BC for a quick trip.

Skiing was epic! This is generally crappy snow season, they got something like 34″ while we were there. Totally unexpected, I almost didn’t bring the pow skis!

This slideshow requires JavaScript.

There is something to be said about skiing and not seeing your boots all day.

We also took a zip line tour with Super Fly while we were there. Something non of us had really ever done. It was awesome! They take you up the mountain in a tracked UTV, then you go on four different zip lines that crisscross the valley to get back down to the bottom. Really really cool.

This slideshow requires JavaScript.

I mean what skier can complain about waking up to this!?

All in all a great little trip!


Make a Plan

Now that the truck is home, its time for a plan. I measured the truck and made another revision to the plan. It looks like it should work.

The cabover will be a bed for our daughter, and a cabinet on the passenger side. There will be a small dinette on the drivers side, a crawl through to the cab in the middle and the kitchen on the passenger side. The back will have ski storage accessible from the outside, and a bathroom and bed for us in the back corner.

Cad Revision #4 I think….

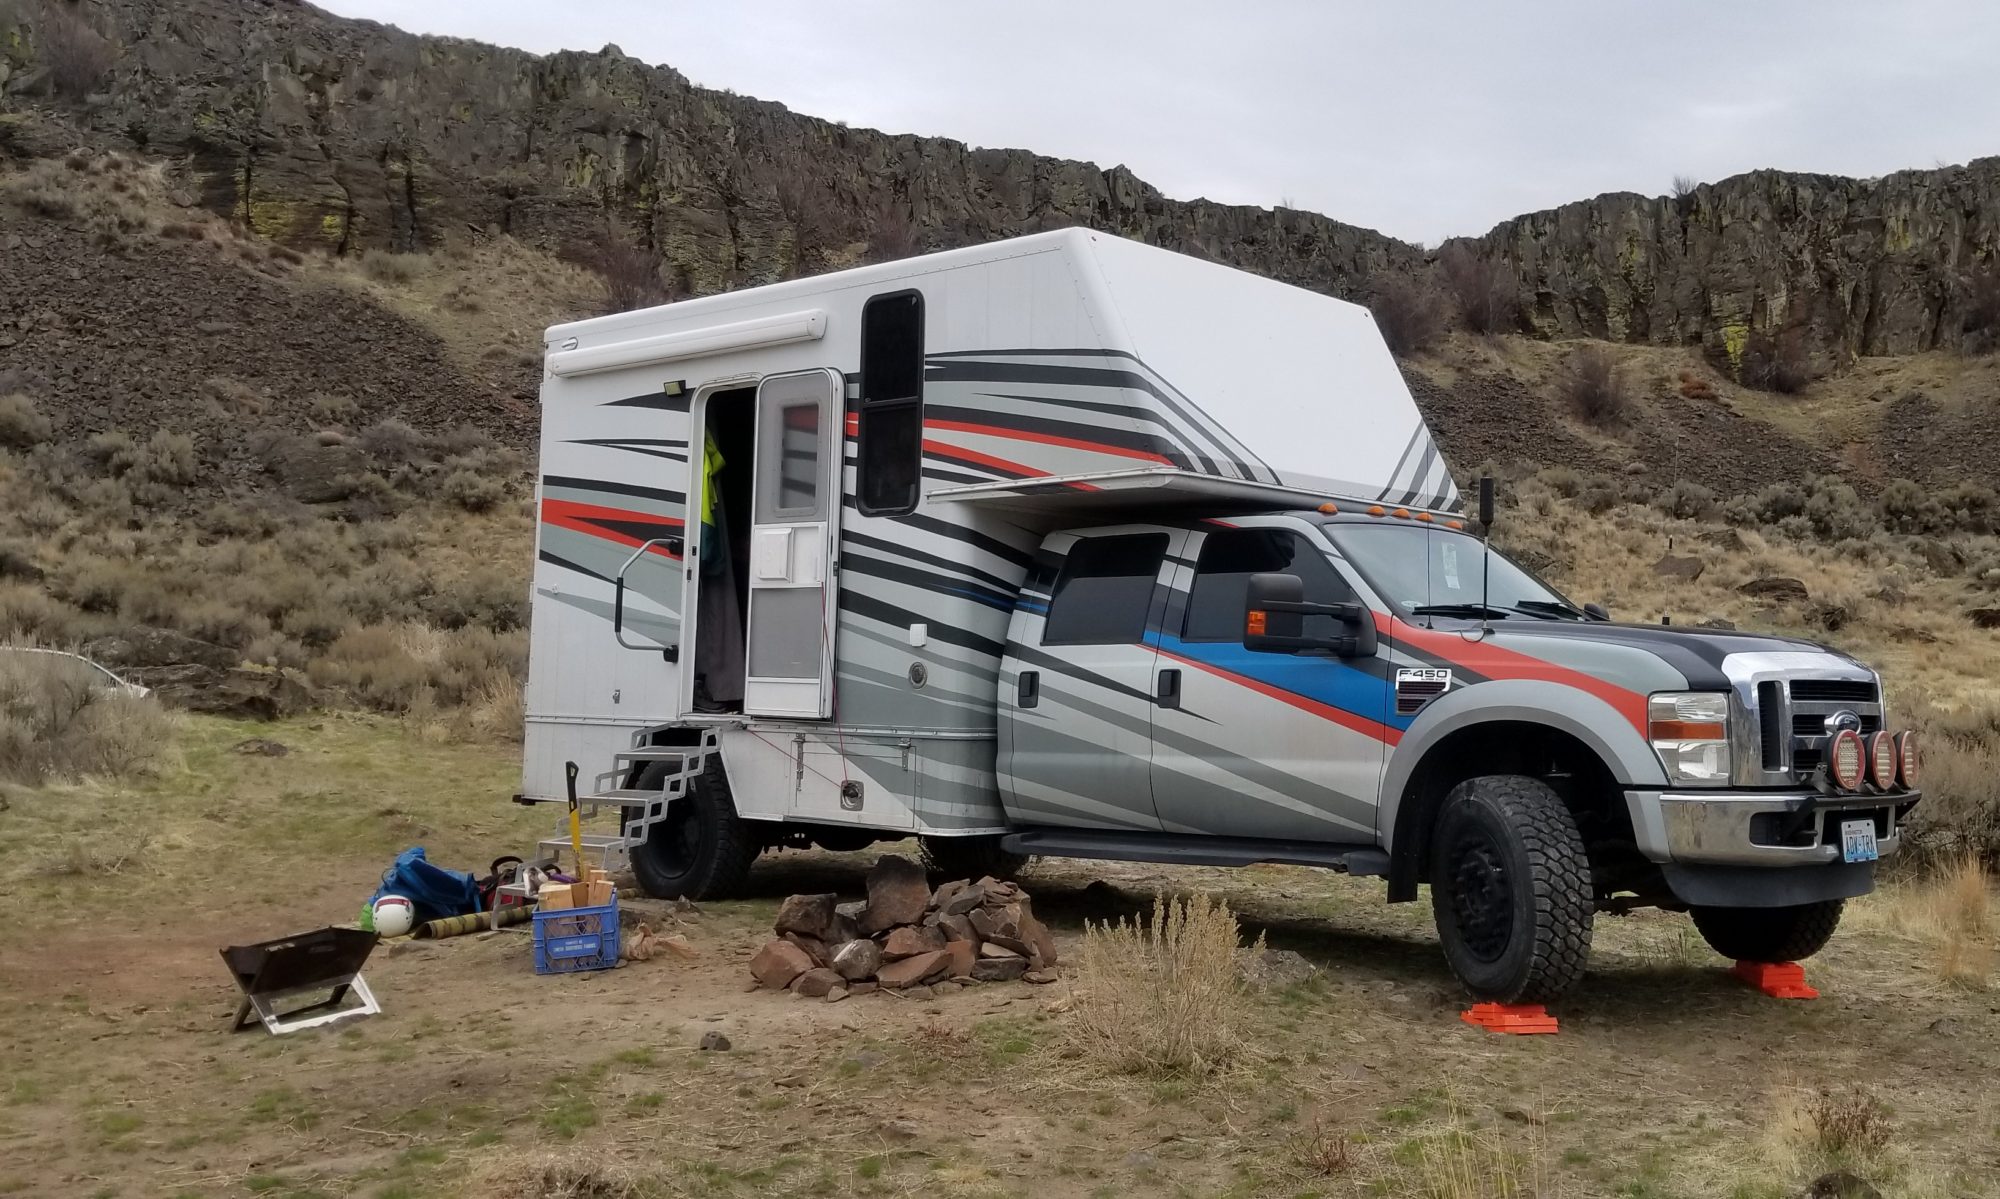
The truck arrived as a box truck, one light in the center, some plywood on the walls and some tie down tracks. Not very RV like.

Notice the trash can? Yeah the roof had a bog hole, well a piece of plywood covering a big hole, it leaked, a lot. That became the first order of business. We had decided not to do a roof top AC unit, the truck is already about 12′ tall, adding more height didn’t work for us.  So for ventilation we decided on two MaxxFans. This gives us one above the kitchen to help with cooking venting, and one over the bed. They can both blow in or out, hopefully this works!

Fans ordered and arrived, time to find a dry day to install.

No Wonder it Leaked
Fan on, Much Better
Fan on, Much Better

Next order of business is to strip the walls down, and strip the back of the cab so I can cut the pass through in!

The Begining

Where to start, we got into this mess when we looked at renting an RV to go ski bumming in.  As I am sure many of you have found out, renting an RV is extraordinarily expensive! So Instead we purchased out own! We both volunteered with the local Search and Rescue group when we were younger and just happened across the old communications van on CL. It was a 4×4 converted small Winnebago.


Aptly named “the Beast”, it was loud, it was bouncy and it was awesome. We took it skiing all over BC, WA, OR, ID and MT. We had so many good times in that truck, but it was big, it had some water issues when we got it that we had band aided to keep it alive, and it was time to move on.

I had half heatedly been looking at cab chassis trucks, to build a replacement on. I was looking F450 and 550’s mostly as they are the most common “medium” duty trucks, lots of fleet trucks available. I had made drawings of a layout using a cab over and a 13′ floor, and a box built by a local company, but it was almost prohibitively expensive.

That is when I happened across an add for this, out new truck, on CL. I was searching under some obscure title for box truck when it popped up.

It was nearly perfect, we needed a crew cab, our daughter has gotten big enough to not need a car seat which made us not feel so good about her sitting at the dinette in the old truck. It had a body from the same company I was looking at getting one done at, but it didn’t have a pass thorough. It was also a foot shorter than I had designed, I redrew the plans and it seemed to still work, just a little tighter. It seemed to run well and had a newer motor put in it at some point. The deal was struck and it was brought home.

Parking just got tight

Now the real work begins. We need to sell the old truck, and get the new one usable as fast as possible!

Next Installment: Make a Plan