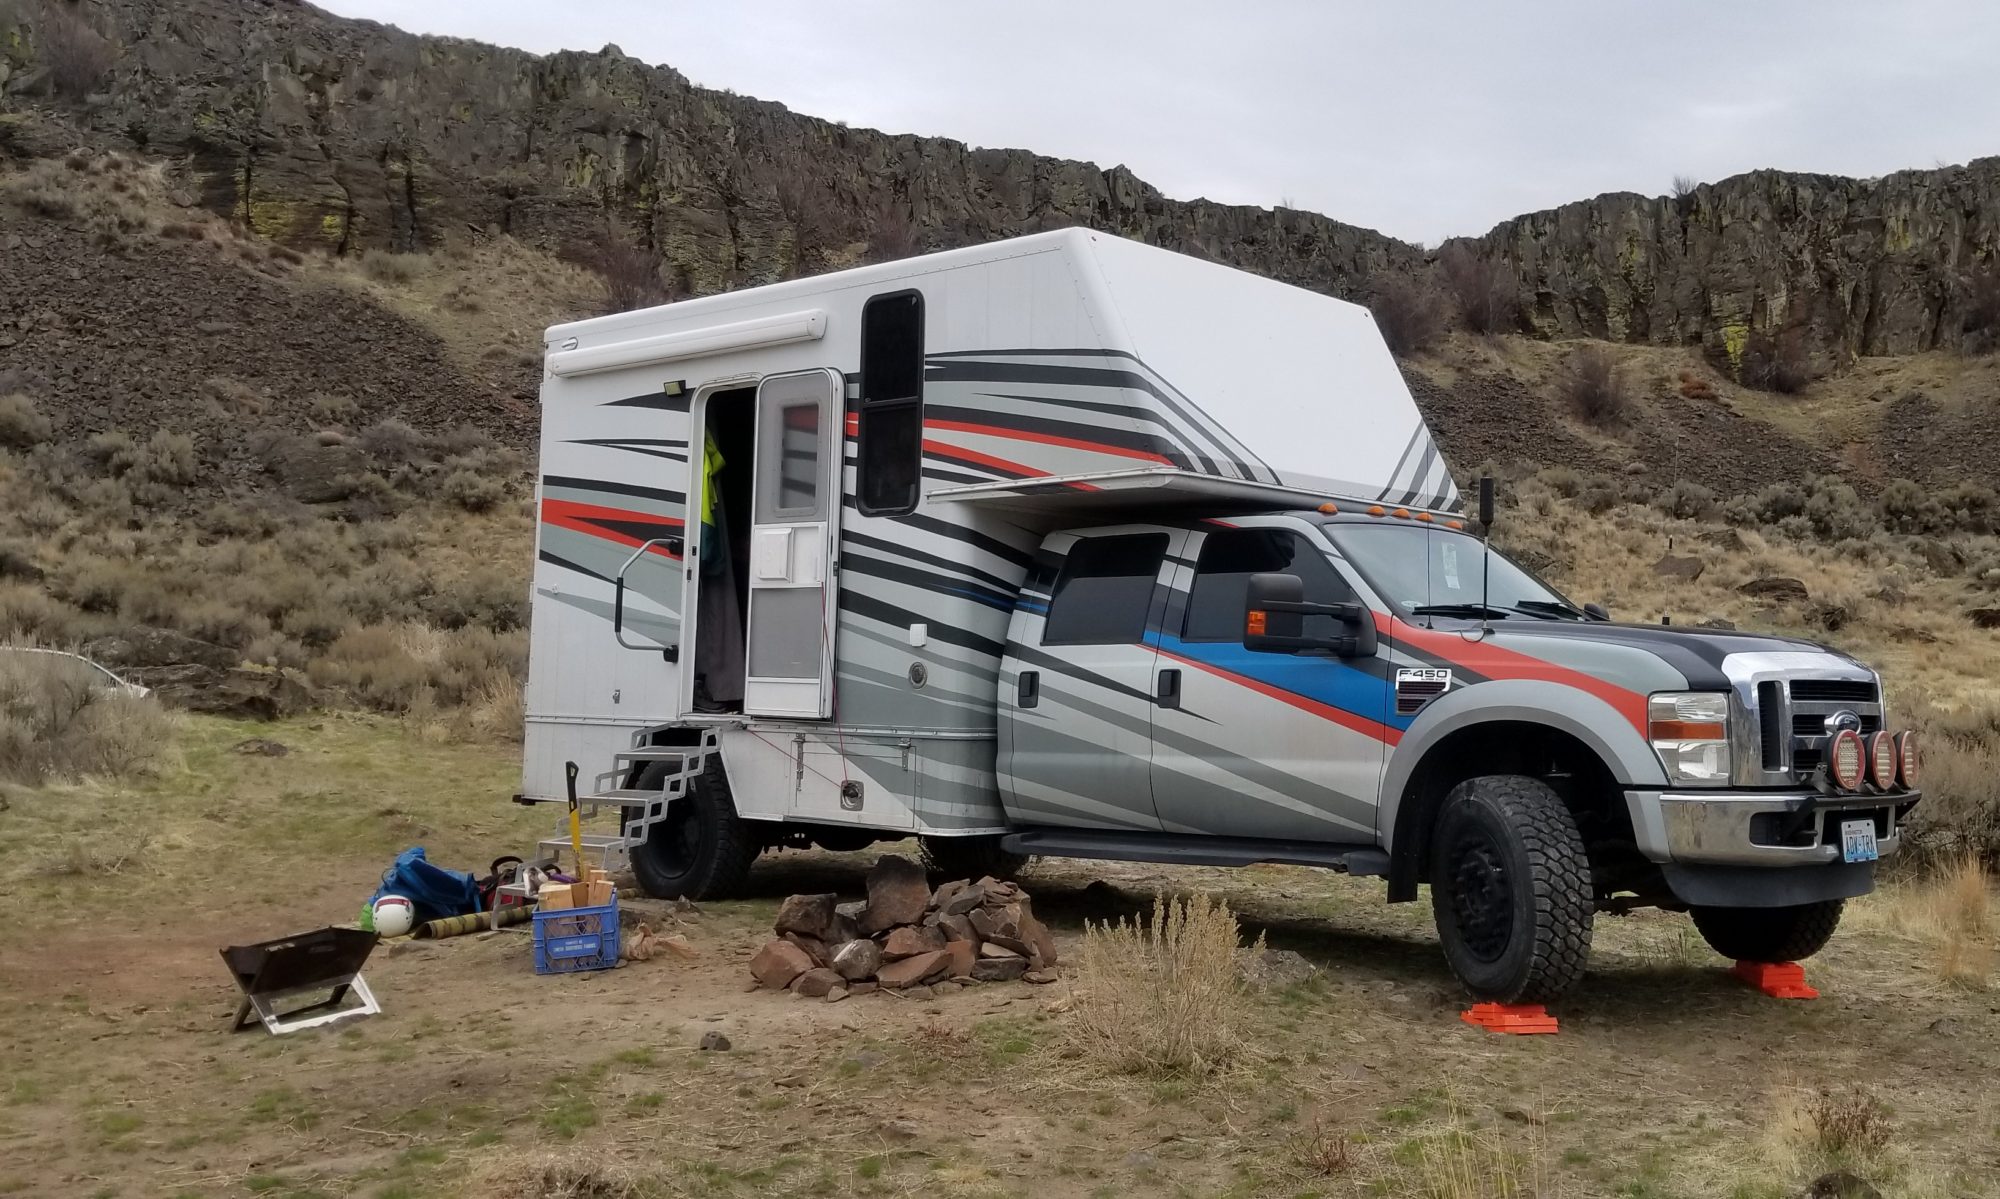
There was a pretty large gap in front of the wheel on the passenger side, but it was just not the right size for a BBQ tank, so I started to look at other options. I settled on trying to find an ASME tank. They are made for permanent mounting on cars/RV’s and as such have very thick walls, and also do not require hydro testing like BBQ tanks. Win win. They are also many designed for horizontal mounting, unlike BBQ tanks.

Now that I knew what I wanted I had to try to find one. They are stupid expensive new. Some CL scouring later I found one, It was in decent shape, used, but not rusty. But its was BIG, like 50 pounds of propane big, but with a little coaxing and cursing it looked like it would fit, but only sideways…..

But that was ok, the valves would be protected well, but inaccessible….. The good news about using an ASME tank is that you can set them up for a remote filling station! So I did some googling and a few fittings, some high pressure line and a few AN fittings and we have all the goodies to fill it remotely. But wait, I have to install the fittings and the used tank came 2/3 full. UGH.

Well I guess we will just mount the tank and deal with the fill later when its empty. To mount the tank I had to make brackets as of course nothing lined up with nothing to bolt it into place. So brackets were made, they had to bolt through the side of one of the floor cross members since that was in the door way and you can’t just bolt through the floor there, and the front side had to help support the back and be spaced down from the floor 2″, but that one could get bolted up through the floor (well once the fridge was un-installed).

After wrestling the tank in and out numerous times I had all the measurements needed to make the brackets. They were simple enough.
Then it was time to loosely bolt the brackets to the tank, wresting it in one more time and try to bolt everything together!

And it fit, thank God. Well almost, I had to trim the forward spring hanger a little bit…. The tank and it wanted to occupy the same space. I only removed about 1/4″ of material, I think it should effect the structure.

While the fridge was pulled out I ran the 3/8″ line up to the stove and Wohoo! We have gas.

I decided to use rubber 3/8″ flare lines for all the connections. The regulator and a T were all there was space for. I was hoping to have a high pressure line also for an outdoor stove. But I just don’t have the room. It may be something I can try to work in later on.


