Skifari 2018 – The Ultimate Ski Bum Road Trip

Skifari is a trip lead by a good friend of mine each year. We camp in a ski area parking lot, ski there during the day, then drive to the next one. Repeat for a week. It’s a great time and we had amazing  snow all trip this year! We had 10 people in 6 rigs. We started at Mt Baker, then headed to Sasquatch BC, followed by two days at Whistler.

Heading up to Baker after work for the first night got very interesting. It was dumping snow, and they had not run the upper area at all that day. 6-8″ of snow were on the road. Once we were ~1/2 a mile from the upper lot, we came across a small slide that was covering the road to a ski area. I stopped to see how deep and packed it was to see if we could cross. As soon as I got back in the car and touched the gas the truck followed the crown of the road sliding right into the snow bank. We were stuck, right in an avalanche Chute. I dug the side of the truck out and used the maxtrax under one front and one rear wheel. I was able to pull forward a bit, but it still was sliding along the snow bank. Luckily we were traveling with friends who were able to winch us back to the center of the road. But we were still slipping all over trying to move. I started to put on chains and a second slide released and hit the truck. Luckily we had a lookout watching the hill and took off running when it let go. Scary as hell bit we made it out ok minus a few buried tools…. We got very lucky that it was a small slide.

Stuck
Feverishly working to get out of the slide area

That’s all we got for pictures, we were working as fast as possible, and once the second slide let go I just hit  the gas back down the hill, one chain halfway on…


But we made it back down to the main lot and parked, it was almost midnight at that point. We had a tiny fire, a couple beers and crashed.

Baker had good snow, 10-12 ish inches overnight, pretty damn light, but not compared to the upcoming days.

Family ski day at Baker!

After skiing Baker we headed North, crossing the border up into BC and parking at Sasquatch mountain. Its a little 3 chair place, but there was no one there and the snow was the lightest fluffy pow you can imagine. It was great for the kid, she usually has trouble in pow, as shes ~55lbs, she just gets stopped, but it was so light she could keep moving relatively easily!

The whole Skifari gang parked at Sasquatch
Its going to be a good day.
Sasquatch Pow


Nice terrain for a little place

Next we headed to Whistler. Long drive day, but not too bad. There are always a couple on skifari. We stayed at the Riverside RV park. Whistler is VERY anti camping in their lots, so this was the next best thing. Close to the upper village and parking at blackcomb mid station worked awesome. We would roll out at 7 and have breakfast up there.

Parking lot lunch!
Whistler Camp site

Some fun trees at whistler.


A normal Skifari evening, a nice little fire, a few beers and great friends to chat with. Such a great time.

A Skifari evening


Great friends great snow, great trip.
Mt Bachelor

Let me start with Mt Bachelor is awesome for ski bumming! They park you right in front of the parking lot, close to the lifts, have a 24 hour bathroom, and showers! You have to pay for the showers, but still they are nice. Its $20 a night to stay there.


Parked right up front!

Ski conditions weren’t great, but we made the best of our time. Went to town, did some climbing and a day of tubing too. Bend is great for visiting lots of breweries!

Tubing! Can you see the big blue truck?

Freezing rain made for short evenings outside, and icy days of skiing, but its still better than working!

Icy tire in the morning.

The drive down and back was uneventful, I try to keep the truck at 68 or less. It will go faster, but 68 is ~2250 RPM’s, which is getting up there, and it sucks down more gas the faster you go.  Two passes past Mt Hood had some snow, but nothing terrible and we made the drive in a day.

Mt Baker Pow weekend!

What a weekend! 28″ in 48 hours, light and fluffy and everything!

We headed up Friday night, there was a storm rolling through that was dumping snow up north. So naturally we chased it!

Heading up at night the LED driving lights are a life saver. Missed a family of deer…. glad I could see them. It was absolutely dumping snow.

Entering hyperspace

We made it in time to get up to white salmon before the gates closed. Its nice to be able to be so much closer to the lift. We backed into the snowbank and settled in for some dinner.

Home for the weekend.
Friday night snow.

It was really coming down Friday night, we walked around outside for a bit, but went to bed pretty early. The morning brought lots of fresh snow. About 8″ overnight.

Lovely Morning sight.

It was a good day for big sticks! Soft and deep everywhere and just continued to come down all day. A great day of skiing. We all crashed early.

The weather cleared up after a few more inches over night. Woke up to clearing sky’s. The snow was so good we decided to ski Sunday too.

Digging out Sunday

Dug out the plow berm that was in front of the truck, and headed for home Sunday afternoon. It was a great weekend of skiing and the truck worked awesome.

Insulating the Cab

After our last snow trip I noticed the carpet under the dog bed was a bit wet from condensation. Need to do something about that. I had planed to insulate the back wall of the cab anyway, it was bare metal panels where the window used to be,  so I had planned to do that for noise if nothing else.

So I ordered a roll of thin foam insulation (I ended up with EZ Cool) and got to work.

Pull all the plastic trims out, pulled the back seat, and rolled the carpet up onto the front seats. I am only doing the rear section at the moment, I don’t have time to pull all the front stuff out too. It takes forever….. Not much insulation from the factory.

Carpet pulled back

Cut a piece bigger than you think you need. All the bends and curves make it shrink!

Piece cut

Then start at one end and work across forming, cutting taping. Don’t forget the holes for seats, seat belts etc! I stuffed it as far forward as I could then made sure it was kind of square and started working towards the back. It bends and shapes ok, not sure easy. But making cuts and taping it seems to get it to hold its shape.

Floor done

Once the floor was done I flopped the carpet back down and started to work on the back walls. much harder, curves, small pieces, slots for the trim panels. But it got done. Spray glue worked great to hold in on the larger flat panels.

Seat belt area.
Up the the back wall.

I also wrapped around the gasket between the box and the cab. Its not a lot of insulation, but any little bit helps. You can see the seats and trims are back in here too. Eventually I will probably carpet the back wall to match the trucks interior, but for now its shiny!

Back together.
Drivers side done as well.

Make a Plan

Now that the truck is home, its time for a plan. I measured the truck and made another revision to the plan. It looks like it should work.

The cabover will be a bed for our daughter, and a cabinet on the passenger side. There will be a small dinette on the drivers side, a crawl through to the cab in the middle and the kitchen on the passenger side. The back will have ski storage accessible from the outside, and a bathroom and bed for us in the back corner.

Cad Revision #4 I think….

The truck arrived as a box truck, one light in the center, some plywood on the walls and some tie down tracks. Not very RV like.

Notice the trash can? Yeah the roof had a bog hole, well a piece of plywood covering a big hole, it leaked, a lot. That became the first order of business. We had decided not to do a roof top AC unit, the truck is already about 12′ tall, adding more height didn’t work for us.  So for ventilation we decided on two MaxxFans. This gives us one above the kitchen to help with cooking venting, and one over the bed. They can both blow in or out, hopefully this works!

Fans ordered and arrived, time to find a dry day to install.

No Wonder it Leaked
Fan on, Much Better
Fan on, Much Better

Next order of business is to strip the walls down, and strip the back of the cab so I can cut the pass through in!

The Begining

Where to start, we got into this mess when we looked at renting an RV to go ski bumming in.  As I am sure many of you have found out, renting an RV is extraordinarily expensive! So Instead we purchased out own! We both volunteered with the local Search and Rescue group when we were younger and just happened across the old communications van on CL. It was a 4×4 converted small Winnebago.


Aptly named “the Beast”, it was loud, it was bouncy and it was awesome. We took it skiing all over BC, WA, OR, ID and MT. We had so many good times in that truck, but it was big, it had some water issues when we got it that we had band aided to keep it alive, and it was time to move on.

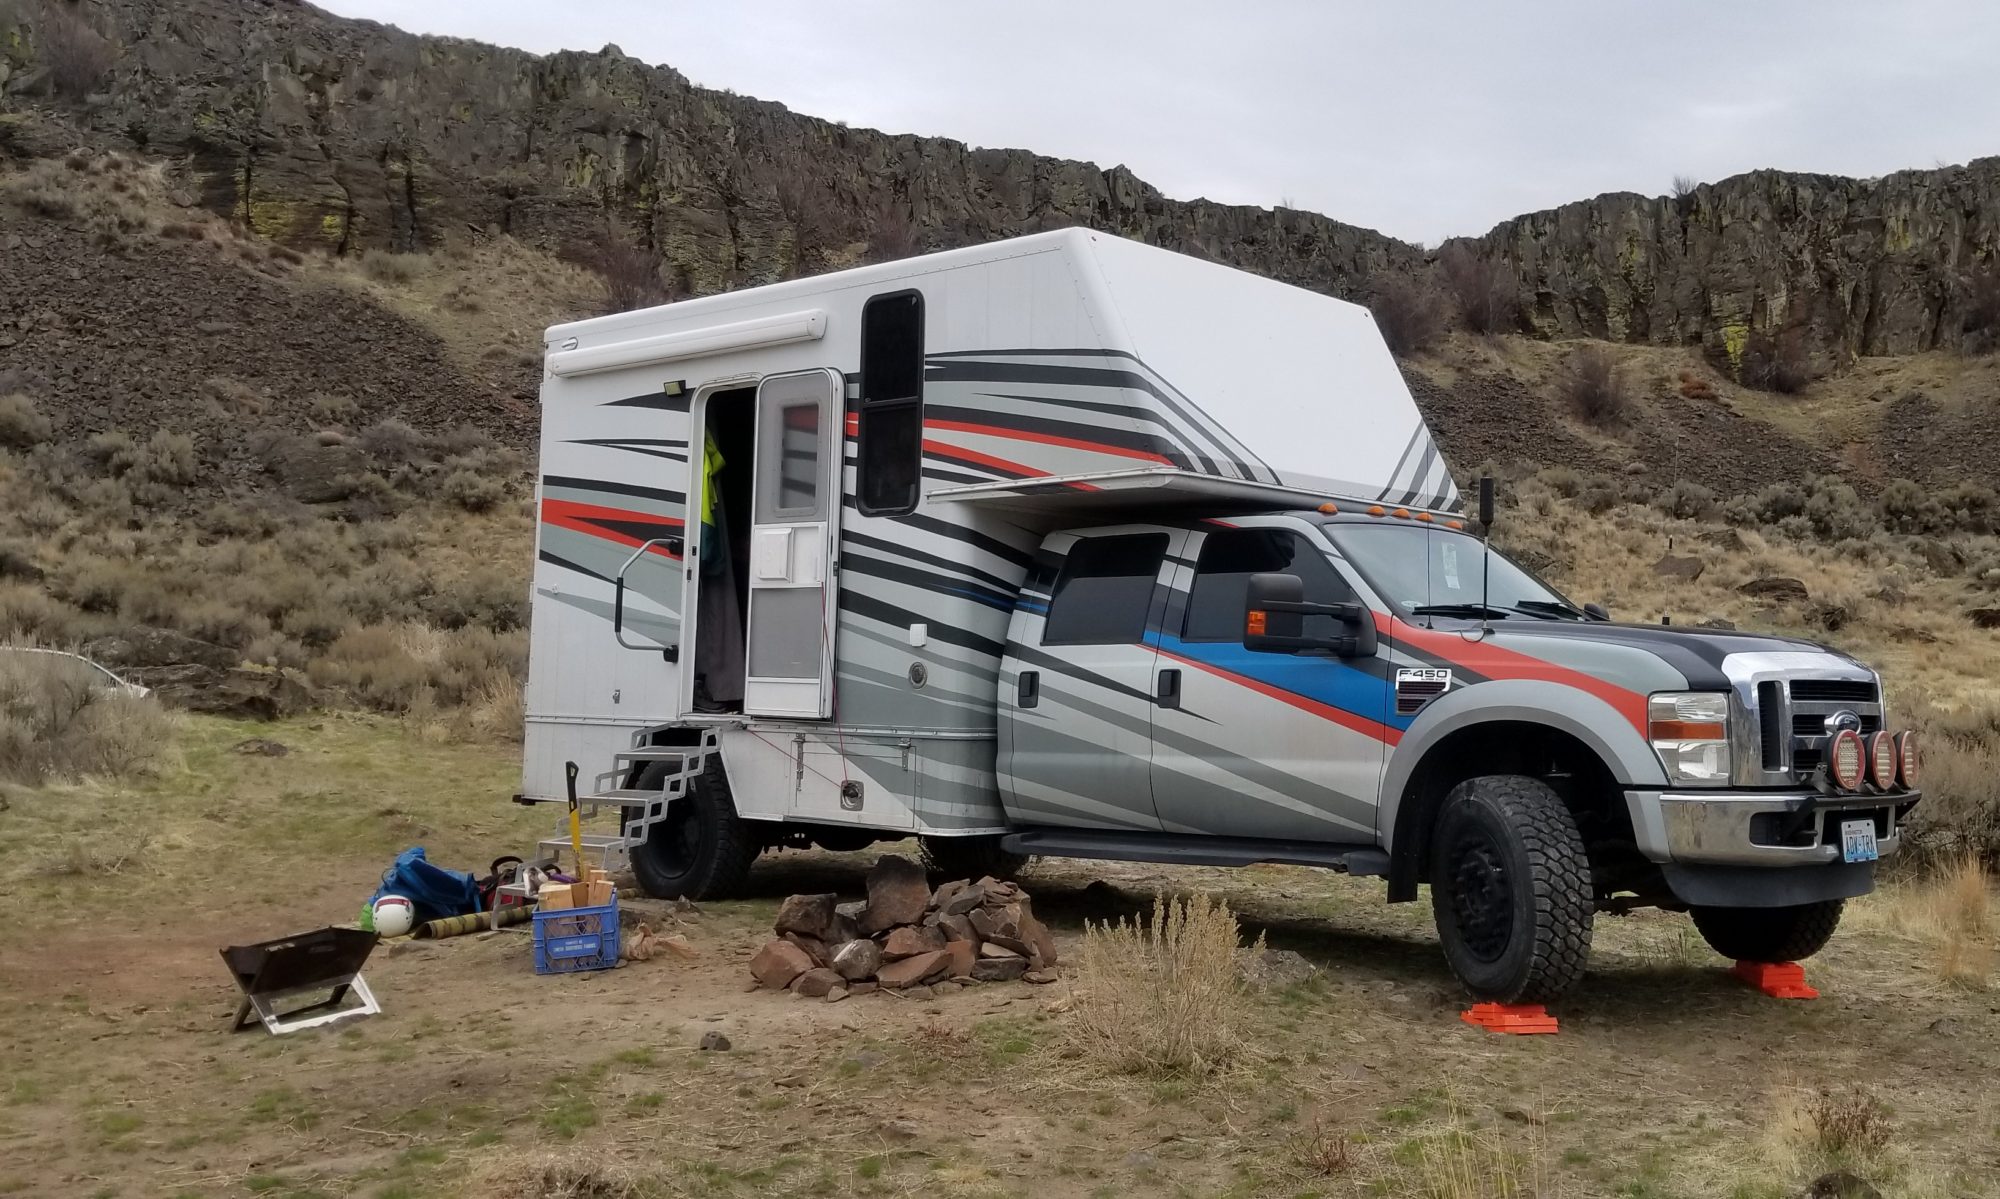
I had half heatedly been looking at cab chassis trucks, to build a replacement on. I was looking F450 and 550’s mostly as they are the most common “medium” duty trucks, lots of fleet trucks available. I had made drawings of a layout using a cab over and a 13′ floor, and a box built by a local company, but it was almost prohibitively expensive.

That is when I happened across an add for this, out new truck, on CL. I was searching under some obscure title for box truck when it popped up.

It was nearly perfect, we needed a crew cab, our daughter has gotten big enough to not need a car seat which made us not feel so good about her sitting at the dinette in the old truck. It had a body from the same company I was looking at getting one done at, but it didn’t have a pass thorough. It was also a foot shorter than I had designed, I redrew the plans and it seemed to still work, just a little tighter. It seemed to run well and had a newer motor put in it at some point. The deal was struck and it was brought home.

Parking just got tight

Now the real work begins. We need to sell the old truck, and get the new one usable as fast as possible!

Next Installment: Make a Plan