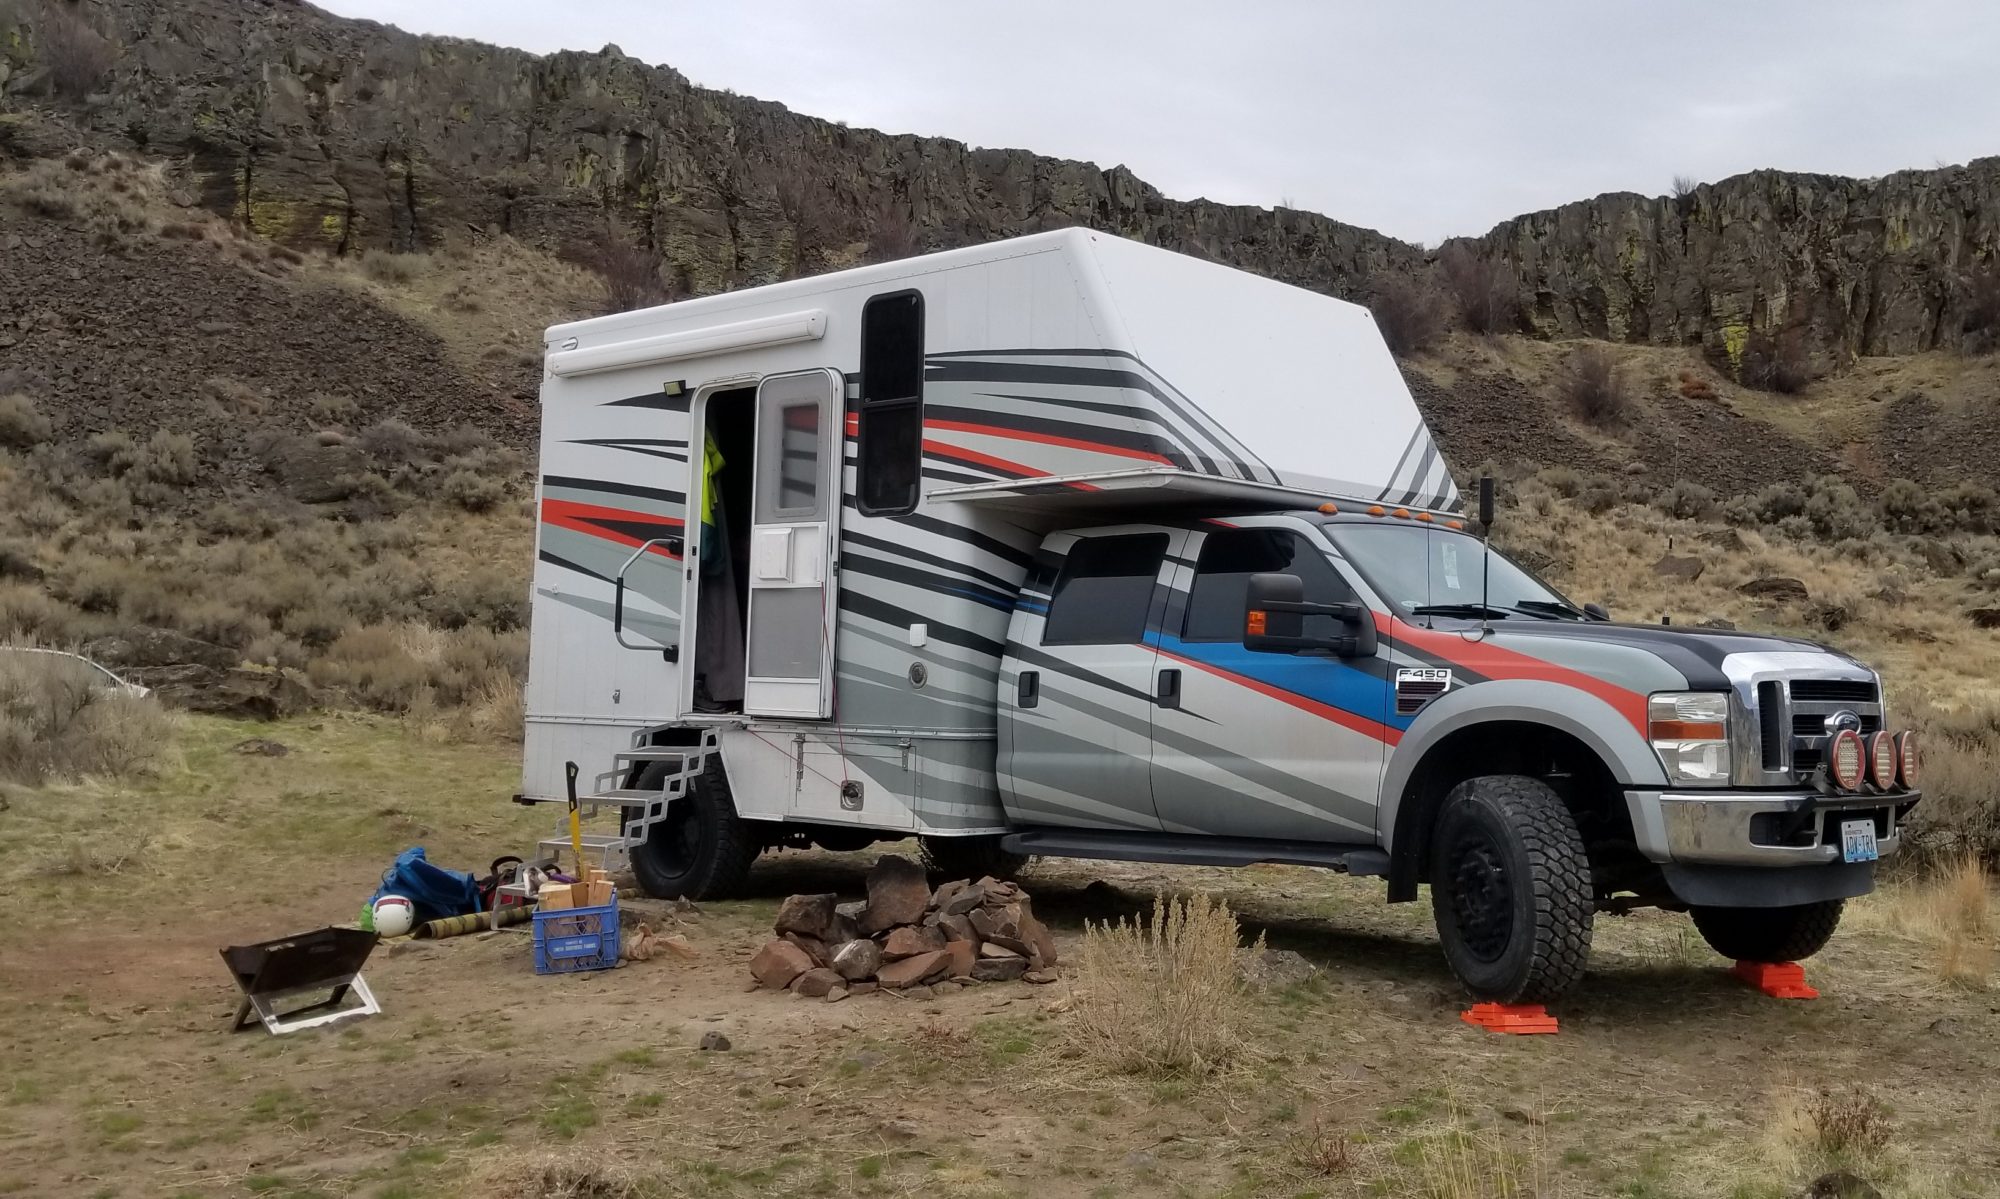
Finally after two years of using the truck, the solar panel is going on! Its been planned for forever, but just was low on the list. However I want to be generator free (we don’t really ever use it) but long ski trips in one spot can sometimes find us needing a charge.
So I started to do some panel research. I already had a Victron MPPT controller, so I knew that having more panel voltage to the controller was a good thing (while keeping within its 75V/15amp spec). This led me to wanting to use a larger “home” style panel not the 100w 12V ones that everyone uses. For a couple reasons, better efficiency, more output voltage, and more isolation diodes in the panel. I ended up with a LG 365w Neon R panel. This is rated at 365W, and has a Vmax of 42.8v and Pmax of 10.8amps. Just what my controller should work well with. But its a BIG panel, 67″x40″, I have it centered on the roof, and have space for one more large one, or a handful if smaller ones.
Next comes mounting, not wanting more holes in the roof, I looked into glue on mounts. The Renogy ABS mounts seem to be well liked (here on Amazon) so I purchased a set. Now the glue part, I used Skiaflex 252, i spent a few days talking with a tech there…. They do not want the 252 used for solar panel bonding, and will make that very clear. But they will tell you which primers to use on the bare aluminum roof, and the ABS. However I was warned the ABS is hard to bond well to.
The install…. I needed the panel on before a 5 day trip with no driving, the issue is it was well below freezing. The Sikaflex wants to be installed warm…. The tech I talked to said it would cure eventually, just take a very very long time. So I got to work, I cranked the heat up inside the truck, opened the roof vent, fan on high and tarped off the roof with blankets and a tarp to get as much heat up there as I could.

Next I laid out the panel and where the mounting feet would go. I was unable to use the Renogy center mounts, the roof curves too much, so I used a piece of angle aluminum instead. The mount locations were marked and sanded with 150 grit on a sander, then cleaned with MEK and the primer applied.

With the prep all done it was a matter to getting the Sika evenly on the feet and setting the panel in the make sure the spacing was perfect. Then covering it all back up to let it set up over night.

The next day I pulled the panel back out, the feet were glued down, but it was going to take a week or more to fully cure. I did not want to risk the panel flying out!
So we then got to work on the cables for the power. One hole was needed in the roof, I used a cable entry gland (gland on Amazon) to cover it, and drilled one big hole…. I located it in the rear over the gear storage, so if it ever does leak hopefully its obvious and away from the living area. It was also glued down with the Sika 252.

For the power cables I went a bit overboard…. I ran 8 gauge wire That should give me plenty of room to add more panels later on as needed, and is the largest wire the controller could accept!

The production from the panel is quite good, even in overcast days. The higher voltage panel pays off, the charge controller is able to up the charge amperage considerably as the voltage is dropped to battery level.


I am excited to see how this does over the summer!
