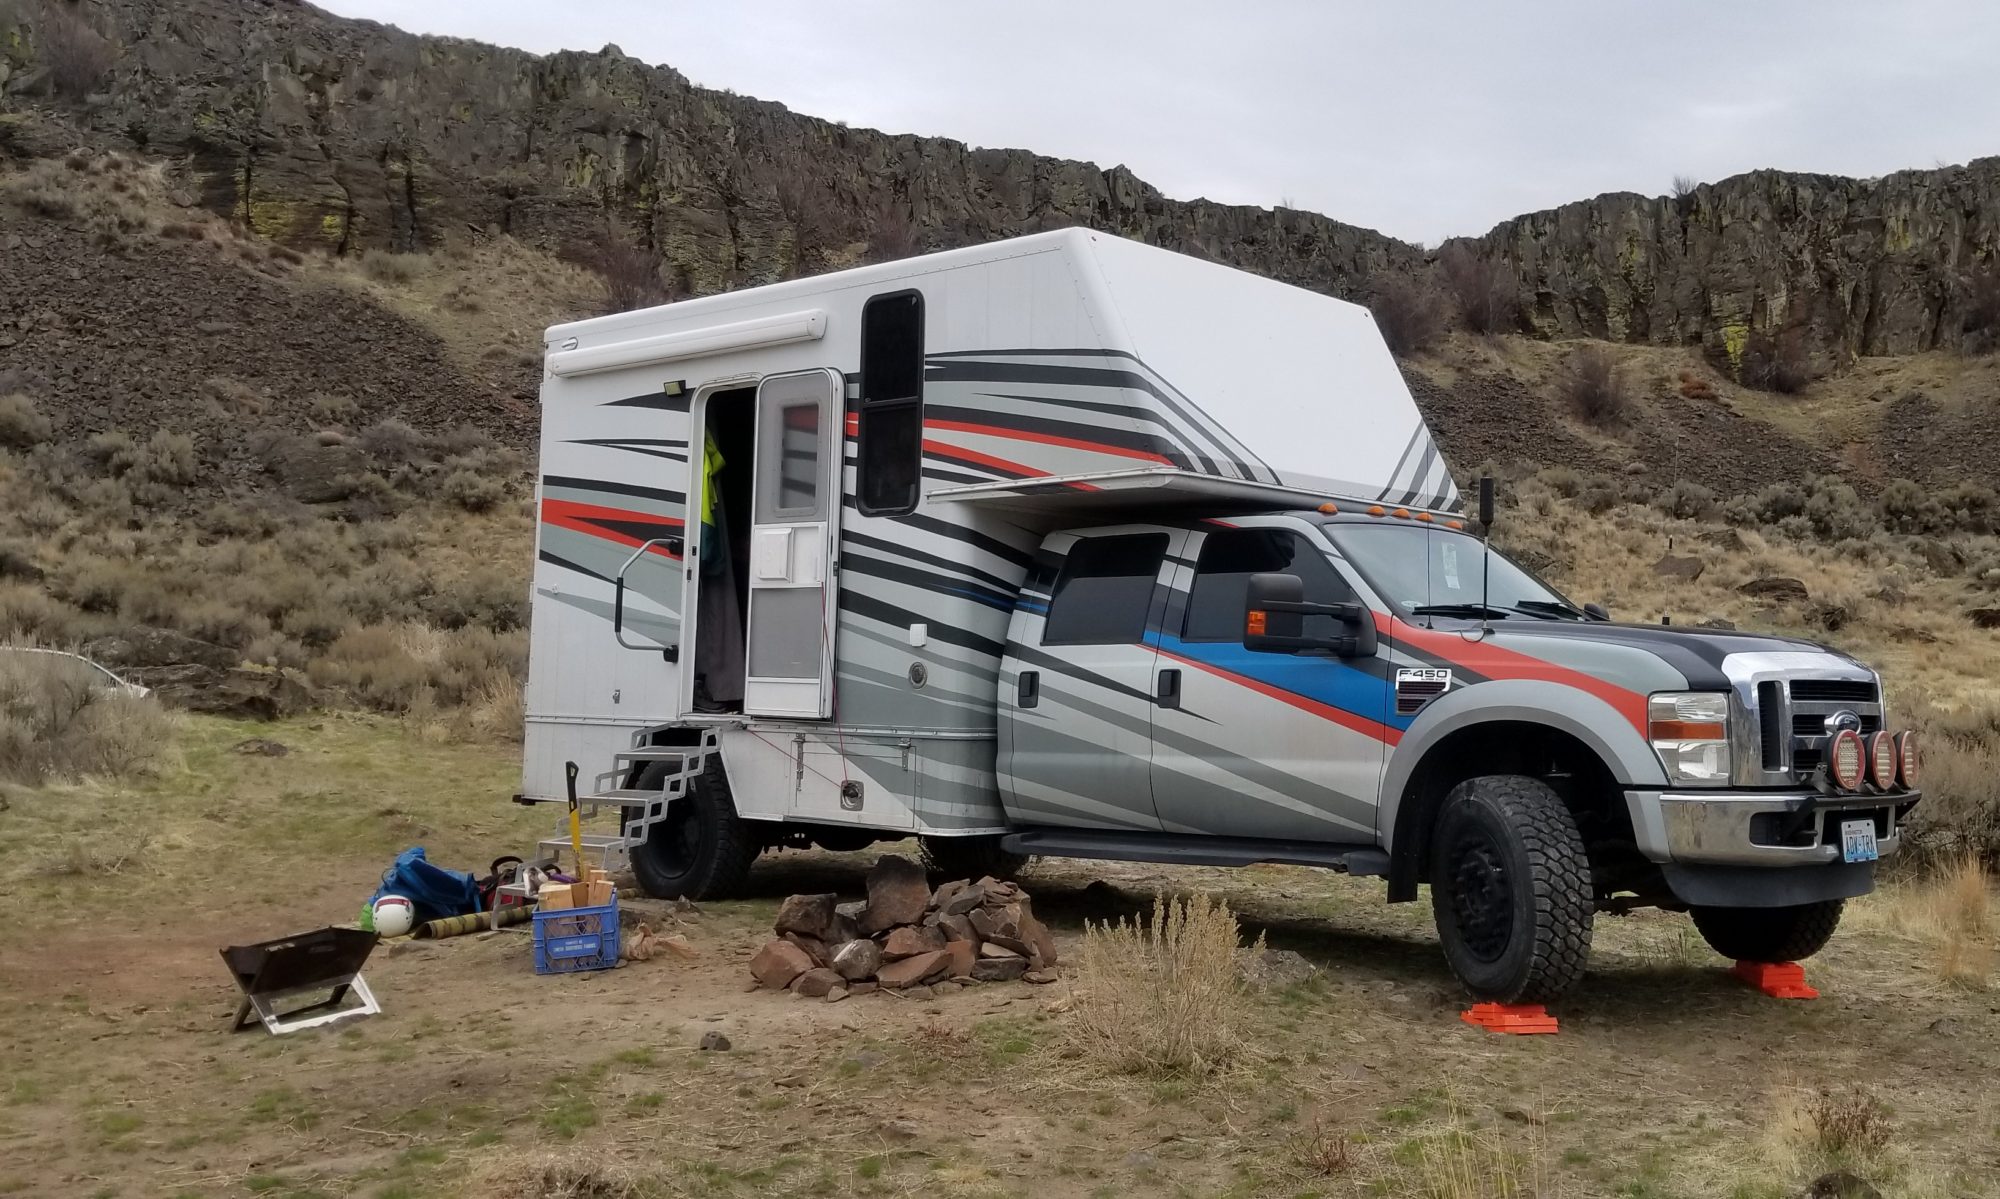

Marker lights are easy, but I don’t really know where the other water is coming in. A coat of sealant on the lights and we move on. Corners will have to be dealt with later.
On to forward progress, wiring design! This was kind of critical, once the insulation is in there is no changing it. I spent quite a bit of time thinking on electrical. I settled on batteries under the bed, I wanted to try to keep them a little warm as that was an issue in our old truck. We are using four 250Ah 6V AGM batteries, this should provide us with 250 usable amp hours at 12v.
So the forward edge under the bed became the main electrical hub. I needed to run both wiring for 12v, and 120V. We will have a few things that need 120V, coffee maker, microwave, and a plug if laptops etc need to be charged. This will be feed by an inverter or generator/plug in.
I decided on 12/3 wire for the 120v, enough for 20 amp circuits, and 12/2 wire for the 12V, this should keep voltage drop to a minimum. I did run a couple of larger circuits as well, one for the fridge and one for the heater and water pump. The 12v is tinned marine wire, the 120v is stranded copper, it was cheaper just to buy an extension cord than I could buy the wire by the foot.

Wiring begun, it was all strung overhead to keep it out of the elements. I am trying to keep as much as possible above the floor.

The wiring went fairly quick but it took miles of wire. I used an entire 300′ roll of the 12V wiring, and had to run a different wire for all the lights. The other main connection area will be in the kitchen cabinets, the switches will be located here, just inside the door.


That is the bulk of the wiring, a few more circuits here and there, but that’s most of it. Next is furring out the walls and cutting the pass through!
