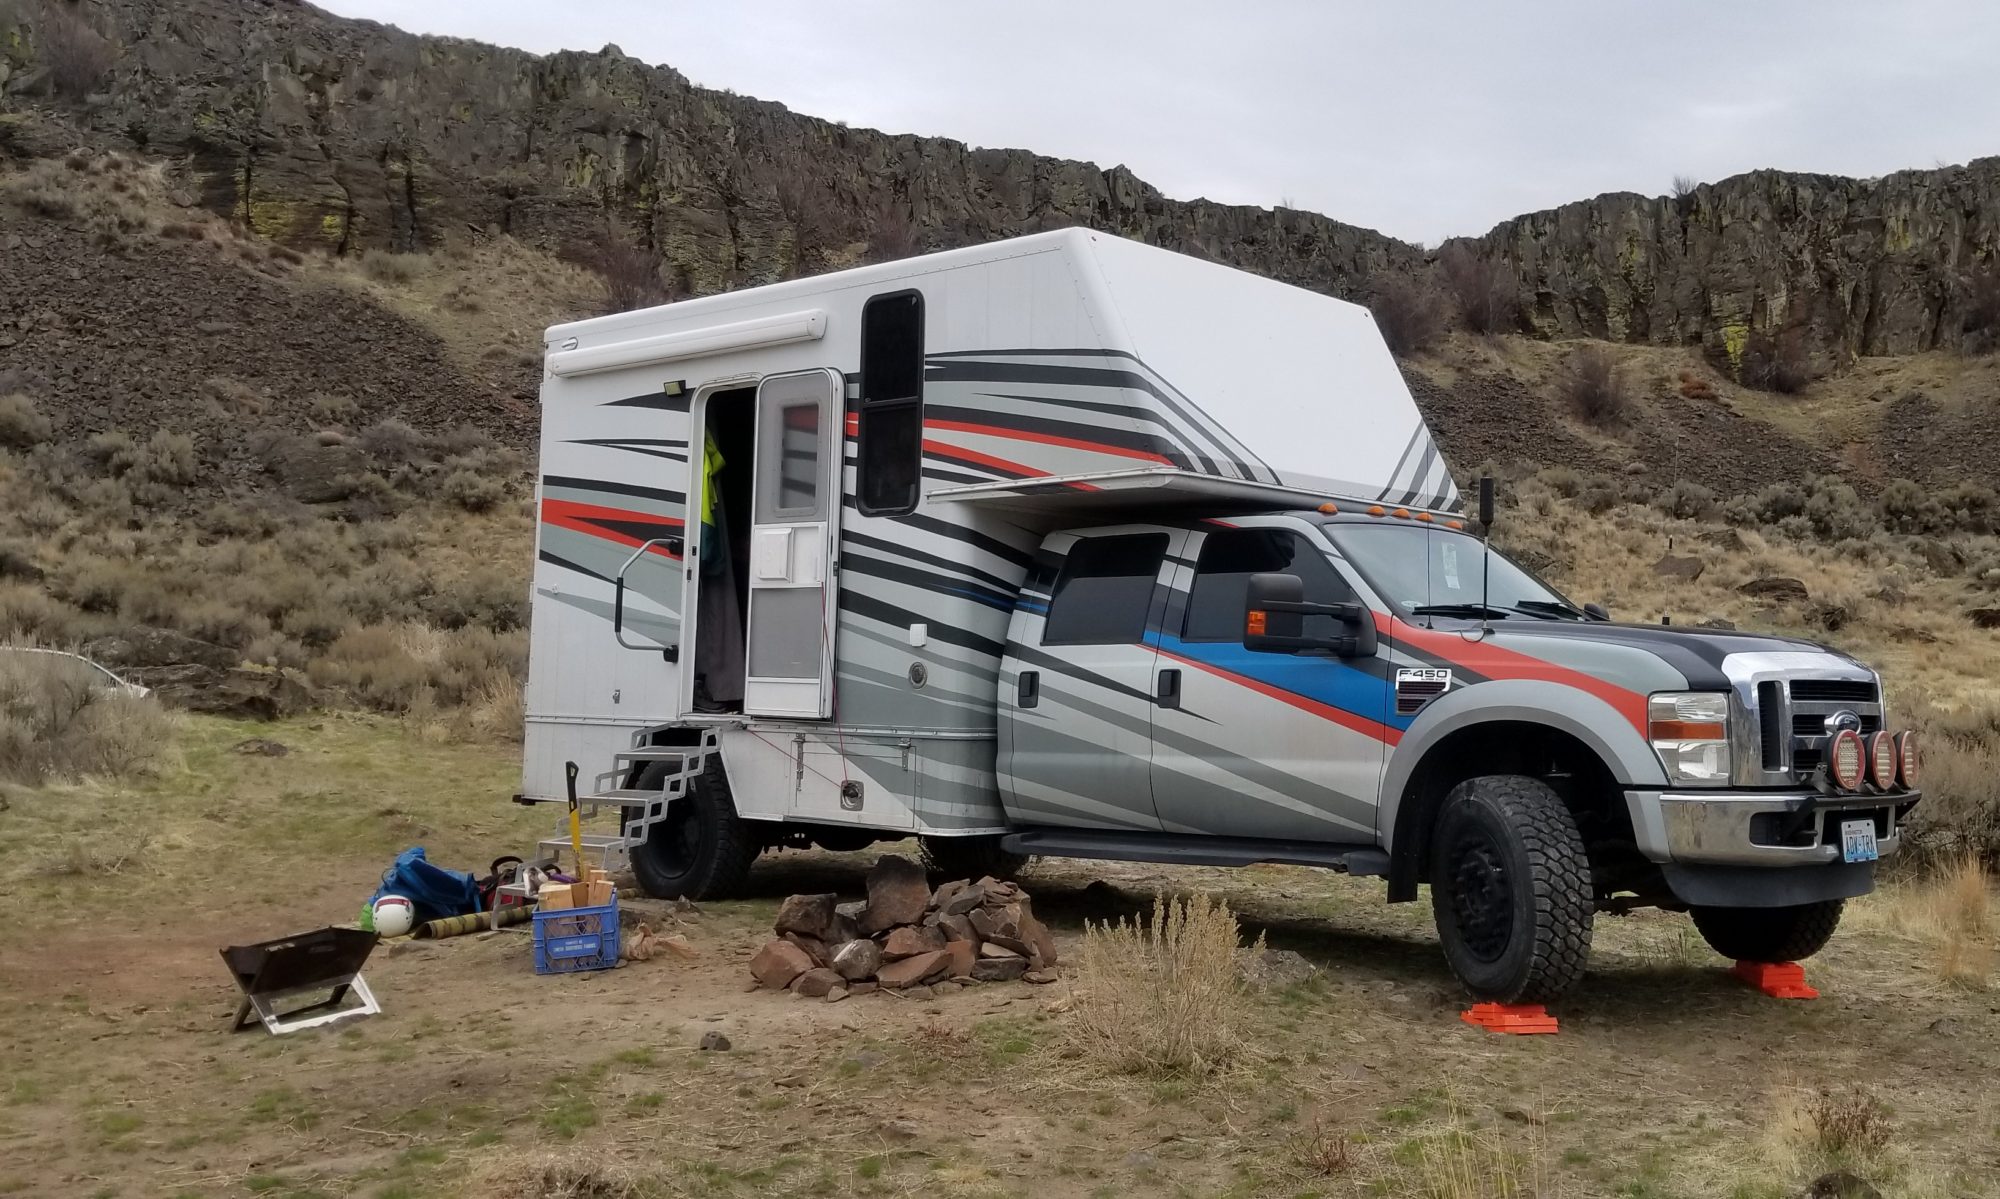
Well it was a TON of work but it got done, and we only left two hours late.
To start I had a 30 gallon tank, it just barely fit under the larger bench at the dinette. It was so tight that I had to take the ledges that hold the top up off…. But it just fit. We laid down 2″ of foam insulation under the tank. Hopefully this will keep it from freezing when outside temperatures drop to -15 (that’s as cold as we have stayed!).


With the tank in place, there is just barely enough room to make the connections. I almost got a slightly longer tank, and I am really glad I didn’t.
With the tank dropped in I had to secure it in place. I used a ratchet strap to hold it vertically, and its pinned in by the bench to hold it horizontally.

With the tank in place I could start the plumbing. I used pex pipe everywhere I could. Its great stuff, connections don’t leak, its ok with freezing, and a little bit flexible. On the outlet from the tank, I put a T, one side will go to the water pump, the other side has a valve so the tank can be dumped if needed.

The water runs across the wall/floor and into the other bench, this is where the water pump goes. The water pump being in with the heater should give it lots of heat to keep it warm in the winter. Valves were used both sides of the water pump so it can easily be removed if needed. Reinforced vinyl hose was used either side of the pump to try to keep noise down. Its still quite loud.

The hot water heater was installed next. It needs one hole for intake and exhaust, its a concentric vent. Also a propane connection, and an electrical connection.

So out come the hole saw and one more hole is added. Some careful measuring and drilling a hole from the outside and inside, and I go them to line up!

The intake/exhaust was glued and screwed into place, and I could then run the propane line.

Propane was connected and it was back to water. Again I used valves so the heater could be drained if needed. I am hopeful that it wont be needed! I still need to run the drain though the floor.

Next up I had to drill the hole for the faucet. Using a diamond bit usually works well, but needs to be kept wet. The trick is kids modeling clay, it works great to make a dam around the hole so it can be kept full of water. Use towels, it will make a mess…


Wohoo it didn’t break! The bit walked a little so its not perfectly centered, but oh well, it didn’t break! So a hot and cold line was run up and a threaded adapter was used to connect to the faucet connections. You can also see the hose barb adapter used for the sink drain in the next picture.

The grey water is simply a six gallon jug that sits under the sink. I think this will work well, it also helps track water usage some.

And put it all together and we get hot water coming out of the tap! Now I didn’t get to installing the outdoor shower yet, but the pex pipe can be cut and modified easily.

That brings us to the end of the water part one. It worked great, being able to just wash hands etc was so nice, we never used the water in our old truck at all. We also found out that the sink pull out can go out the kitchen window for showers 😀
